This guide explains how to enable network file sharing on Windows 11, granting multiple users on your local network access to your files and folders. By implementing network file sharing, organizations and individuals can facilitate real-time collaboration and improve team productivity through secure, and rapid file access without having to use external drives or USB flash drives.
1-Change Network Location To Private:
A network location identifies the type of network that a PC is connected to with a network adapter and automatically sets the appropriate Windows Defender Firewall settings for that location.
By default, the first time you connect to a new network (wired or wireless), you will be prompted “Do you want to allow your PC to be discoverable by other PCs and devices on this network?” by the Network Location wizard. Turning on this setting prepares your PC for sharing files and devices on a network.
Public network means your device is not discoverable on the network. By default, the public network location type is assigned to any new networks when they are first connected.
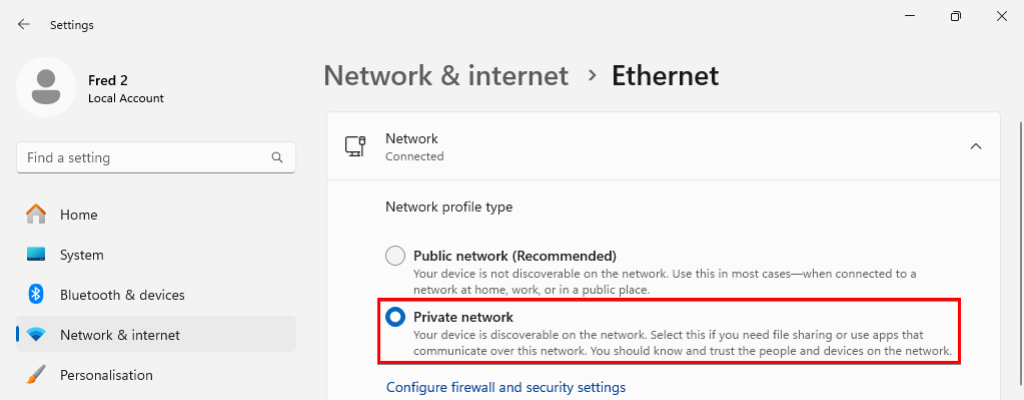
Private network means your device is discoverable on the network. Select this if you need file sharing or use apps that communicate over this network. You should know and trust the people or devices on the network.
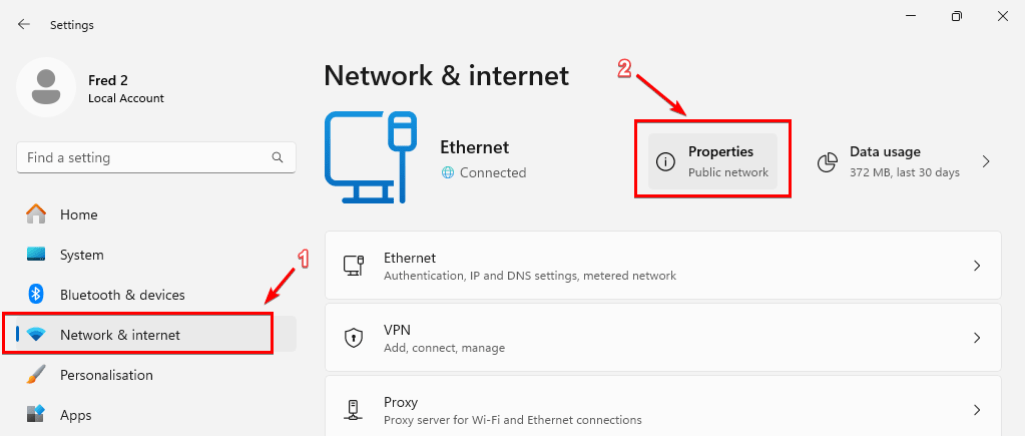
To change network location from public to private, first open the settings app by pressing on Windows key + I on your keyboard, then go to Network & internet tab, then click on Properties.
Then select Private network
2-Enable Sharing Through Advanced Sharing Settings:
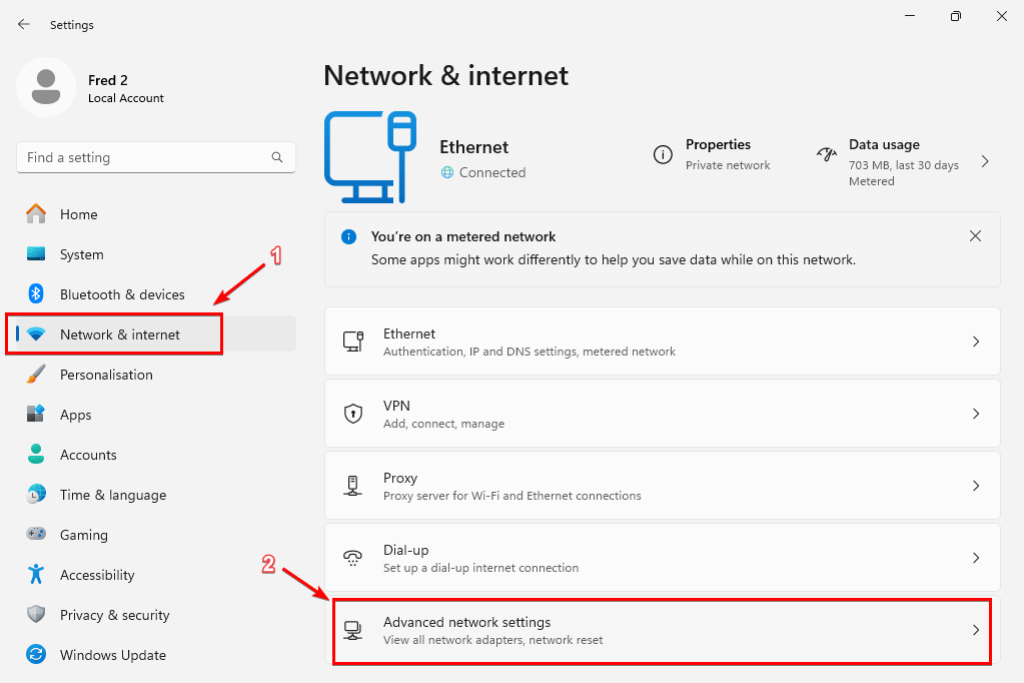
Then go back to Network & internet tab, then click on Advanced network settings
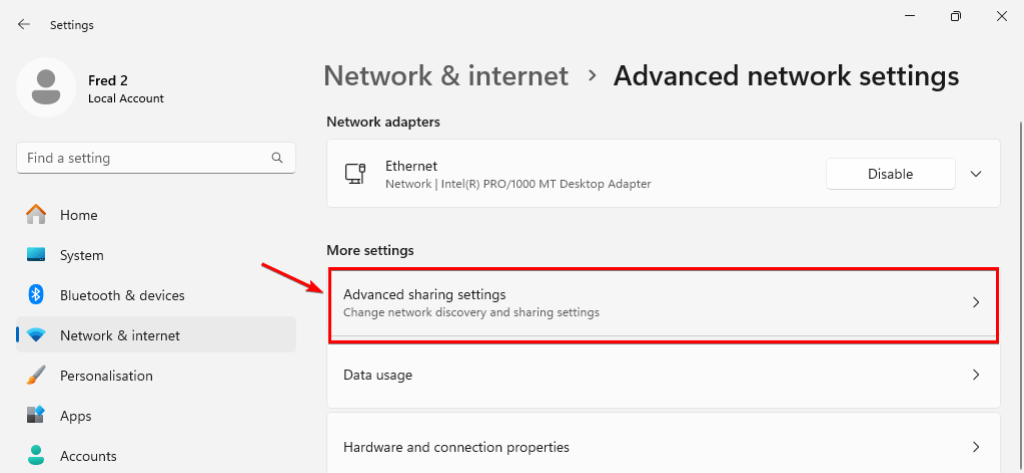
Then click on Advanced sharing settings
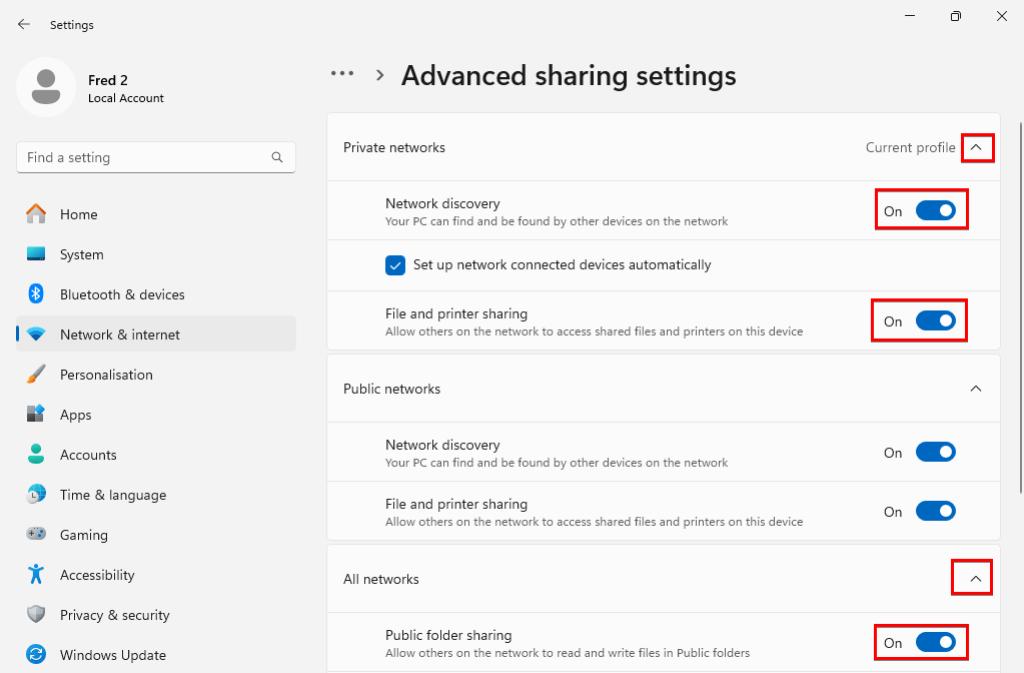
Then turn on the toggles for Network Discovery and File and Printer Sharing Under Private networks, Additionally, under the All Networks section, turn off the toggle for Password-Protected Sharing and turn on the toggle for Public folder sharing .
Note: You need to do this for all devices on the network to allow sharing between them.
3-Share a Folder and It’s Content:
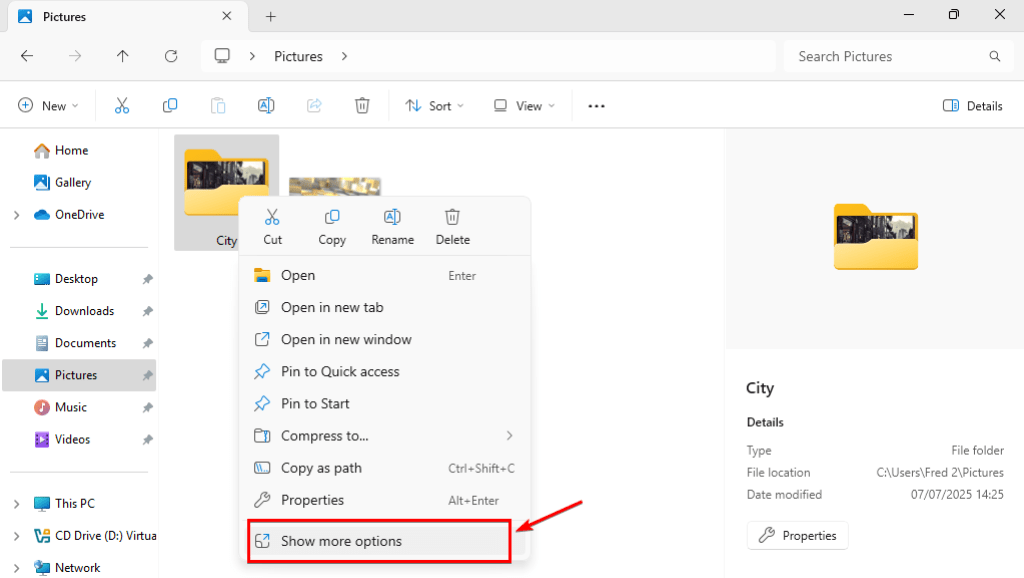
Then navigate to the folder you would like share, right-click on it and choose Show more options
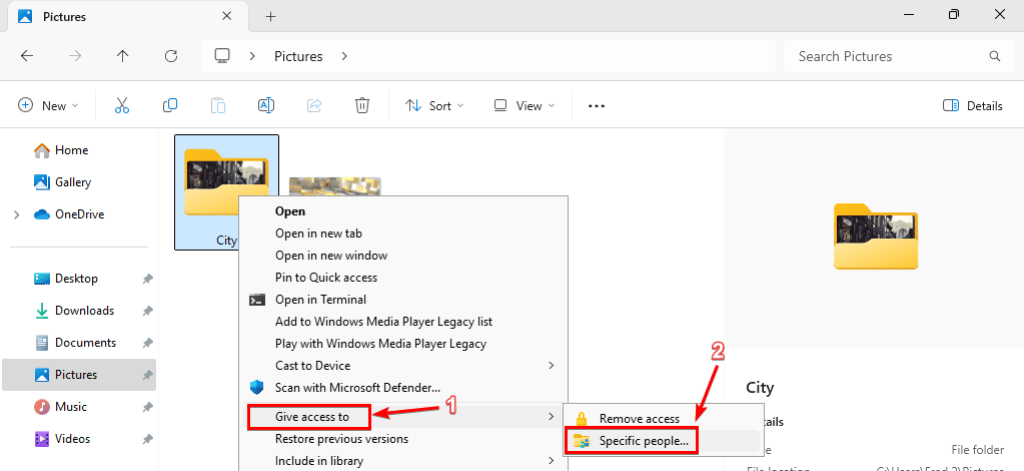
Then hover your mouse over Give access to and choose Specific people
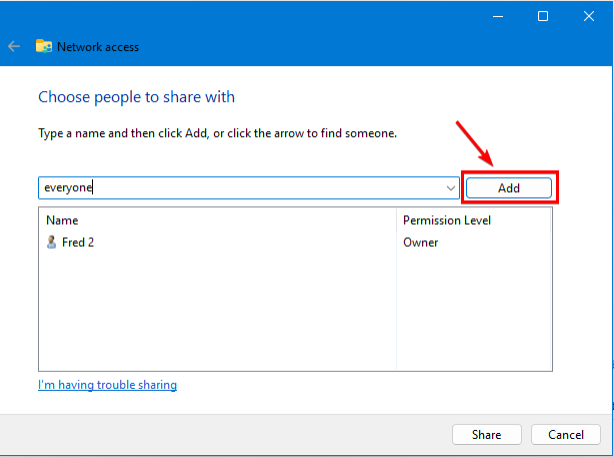
Then click on the dropdown menu and select Everyone
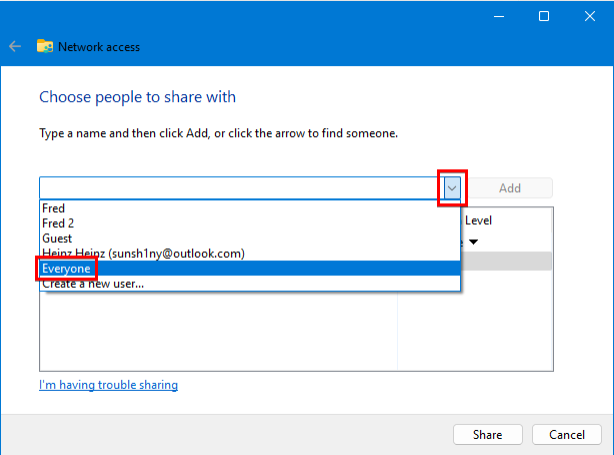
Then click on Add
Then change the Permission level to Read/Write if you want to allow other devices to delete, modify or add files to the shared folder, or keep it Read only if you don’t want that, then click Share
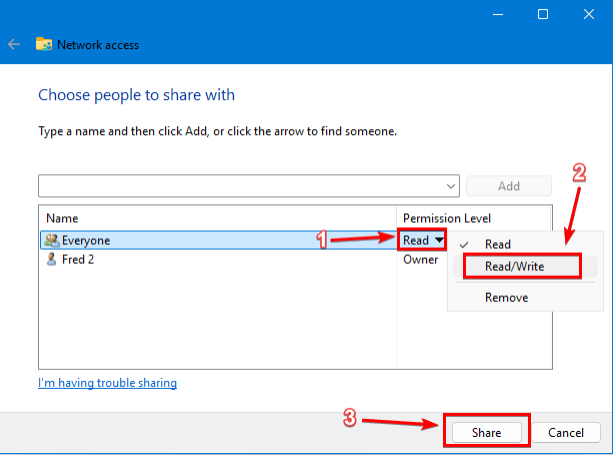
Then click Done.
If you prefer to share the folder only with specific people, you can manually add their device names instead of selecting Everyone.
4-Advanced Sharing:
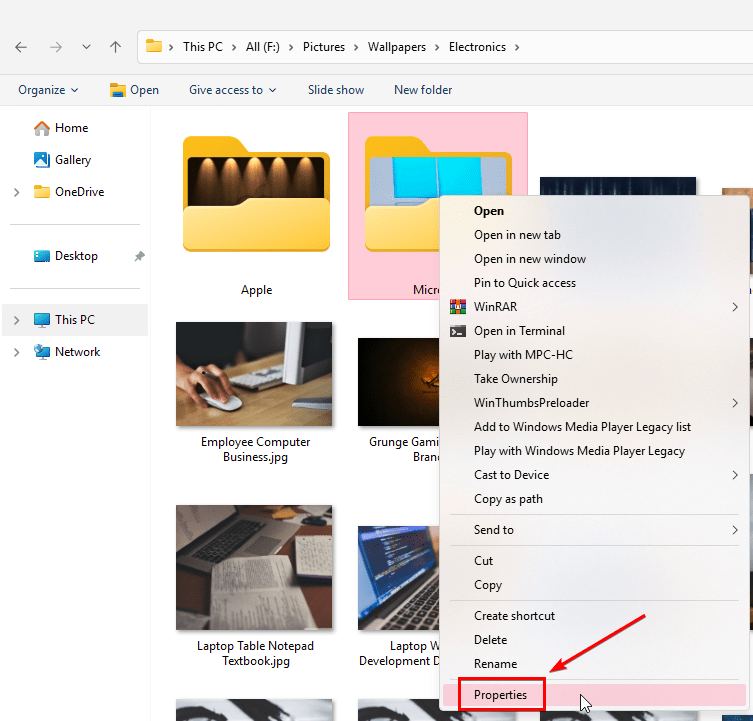
If your context menu didn’t have Give Access To you can click on properties instead
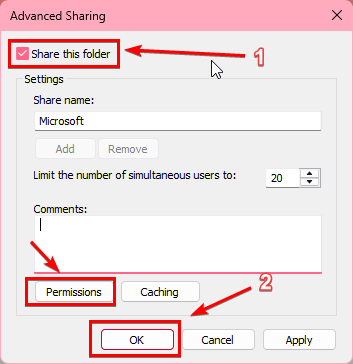
Then go to the Sharing tab and click on Advanced Sharing
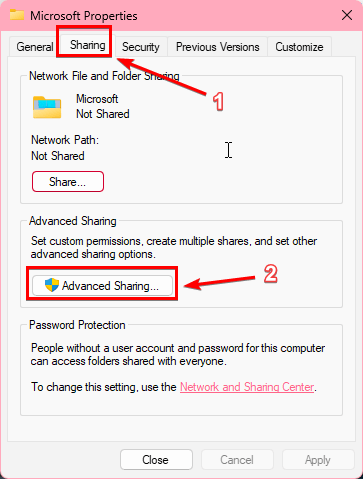
Then click on Share this folder, then click Ok (You can also click on Permissions first to enable read and write access to other devices).
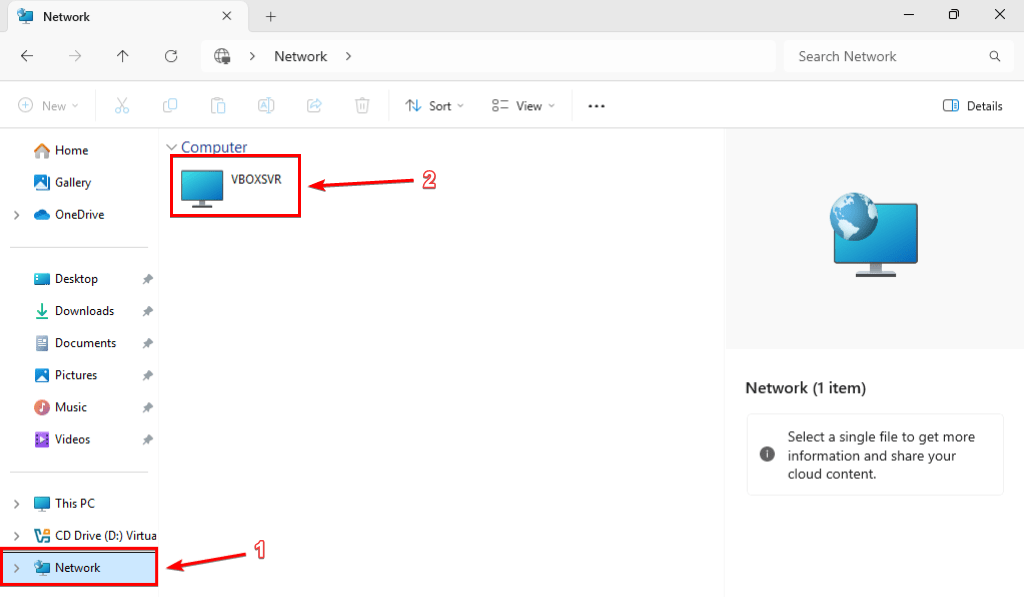
5-Accessing The Shared Folders:
For others to access your shared files, they must have Network Discovery enabled. They can then open File Explorer, go to the Network section, and select your device from the list of available options. From there, they can open the shared folder, copy the files, and paste them onto their devices.